Preparation
There are several different types of damages that can occur to tubs and showers.
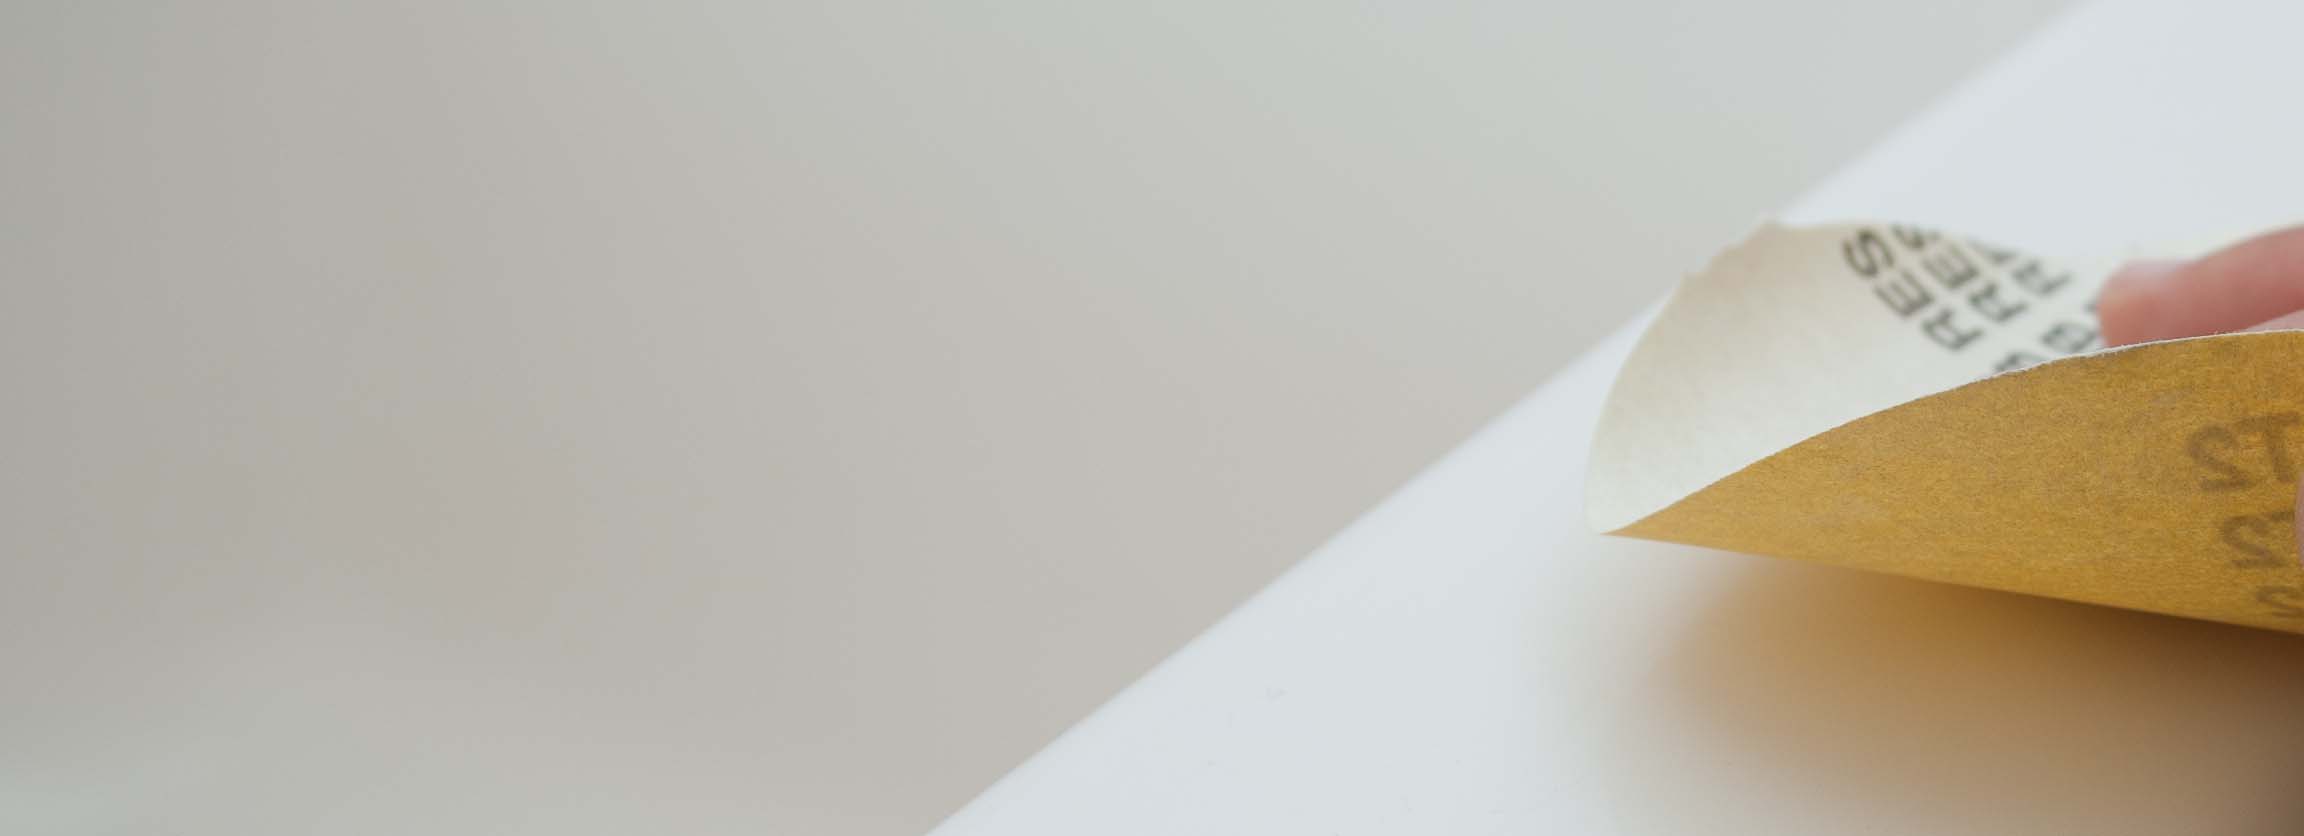
Proper preparation is key to all of them to have a quality repair. Basic Preparation includes:
- Cleaning the surface to remove and contaminates like oil or residue.
- Removing any materials that will prevent repair from adhering.
- Etching the surface to hold repair materials.
- Setting up a dust free environment around the repair area.
Once the surface is prepared, we can move onto the repair itself.
The Repair
Dependent on the type of surface and the damages, there are different ways to repair the damage itself. Years of experience have given us the skills to know the best way to repair any particular type of damage on any given surface.
- Cracks must be carved out to give large surface area for material to hold and prevent spreading.
- Cracks also need to be reinforced with fiberglass to restore strength.
- Any chips must be filled with appropriate material.
- Weak floors are supported with a dense polyurethane based foam.
- Proper materials play a huge part of a successful repair. Due to moisture levels around tubs and showers, appropriate materials must be suitable for this type of use.
Care and Maintenance
Following a repair, normal care of the unit will ensure the repair looks as good as when we leave. Nothing special, just standard care the same as the original unit.
- No harsh chemicals (bleach, paint thinner, etc.).
- Only use non-abrasive cleaners (no powders or anything that feels gritty in your hand).
- Dishwashing detergent like Dawn is the best cleaner for the entire unit, and is completely safe to use on the repair.
- Aerosol cleaners are fine, as long as they do not have bleach and are designed for use on bathroom surfaces.
- Try not to let soap scum or residues build up on the unit. The longer it sets, the harder it is to remove.